

Welcome to Depthkit Studio
hardware
Hello, Distortion Rocks team! Your 6-sensor hardware package is tested and ready for volumetric capture with Depthkit Studio.
This quick-start guide is here to walk you through assembly. For any questions, reach out to support@depthkit.tv.
What's in the Box

_
a
1x
Boxx Apexx S3 Computer + accessories
1x
Calibration Chart
_
b
6x
Microsoft Azure Kinect Developer Kits
1x
Ambient ACN-CL Lockit Sync Generator with Lemo to 3.5mm (PPF) Cable
6x
30' USB Extenders
7x
Mini Tripod Lite Stands
7x
Mini Ball Heads
1x
Mini Clamp
Assembly Instructions
Computer
Place the computer on a table or work surface. Use the supplied AC cable to plug it into power, and connect peripherals like a monitor, mouse, and keyboard.
// Customers outside North America may need a plug adapter for the PC.
Sensors
Remove the sensors from their packaging.
Use the included Torx wrench to remove the white cover from the sensor to expose the sync ports.
Place the sensors on the included ball heads & stands, or other mounts.
Cables — USB
Remove the Kinect data USB and power cables, and 30’ USB extenders from the Azure Kinect packaging.
Plug the USB Type-C plug and DC barrel connector into the SENSOR.
Plug the USB Type-A plug into the USB extender.
Plug the other end of the extender into the labelled USB ports on the rear of the PC.
Plug the AC power plug into a power source.
// Customers outside North America will need plug adapters for the sensors.
Cables — Sync
Remove the 3.5mm sync cables from the packaging.
Connect the cables from one sensor's Sync Out to the next sensor's Sync In. Press firmly to ensure the cables are fully seated. The first sensor in the chain will have nothing plugged into its Sync In port, and the last sensor will have nothing plugged into its Sync Out port.
Sync Generator (Optional)
If you are capturing with Depthkit alongside other recordings like audio, the included sync generator will help keep all of these recordings in sync. More information can be found here.
Remove the Lockit sync generator and LEMO to 3.5mm TRS cable from the packaging.
Charge the Lockit sync generator using the provided USB cable.
Connect the LEMO cable from the SYNC port of the Lockit sync generator to a sync cable, and connect the other end of the sync cable to the Sync In of the first sensor in your sync chain (which should be the only Sync In port available). Press firmly to ensure the cables are fully seated.
Power on the Lockit sync generator by pressing and holding the power button, then start the generator by holding the green button until the LED flashes green.
When capturing, follow the sequence in our documentation to ensure that the sensors start streaming in sync with other devices.
Everything Else
Remove the calibration chart from the packaging and mount it to a stand, optionally using the included mini clamp and ball head.
Make sure your capture volume has plenty of sensor-friendly light.
Calibrating and Capturing in Depthkit
1. Turn on the computer.
2. Connect the computer to the internet.
3. Open Depthkit by clicking the icon in the taskbar or Start Menu.
4. Login using your credentials.
5. Create a new project by specifying a directory. All of the recordings, calibration data, and other assets will be stored in this directory.
Follow our documentation to finalize your equipment setup, calibrate, and record.
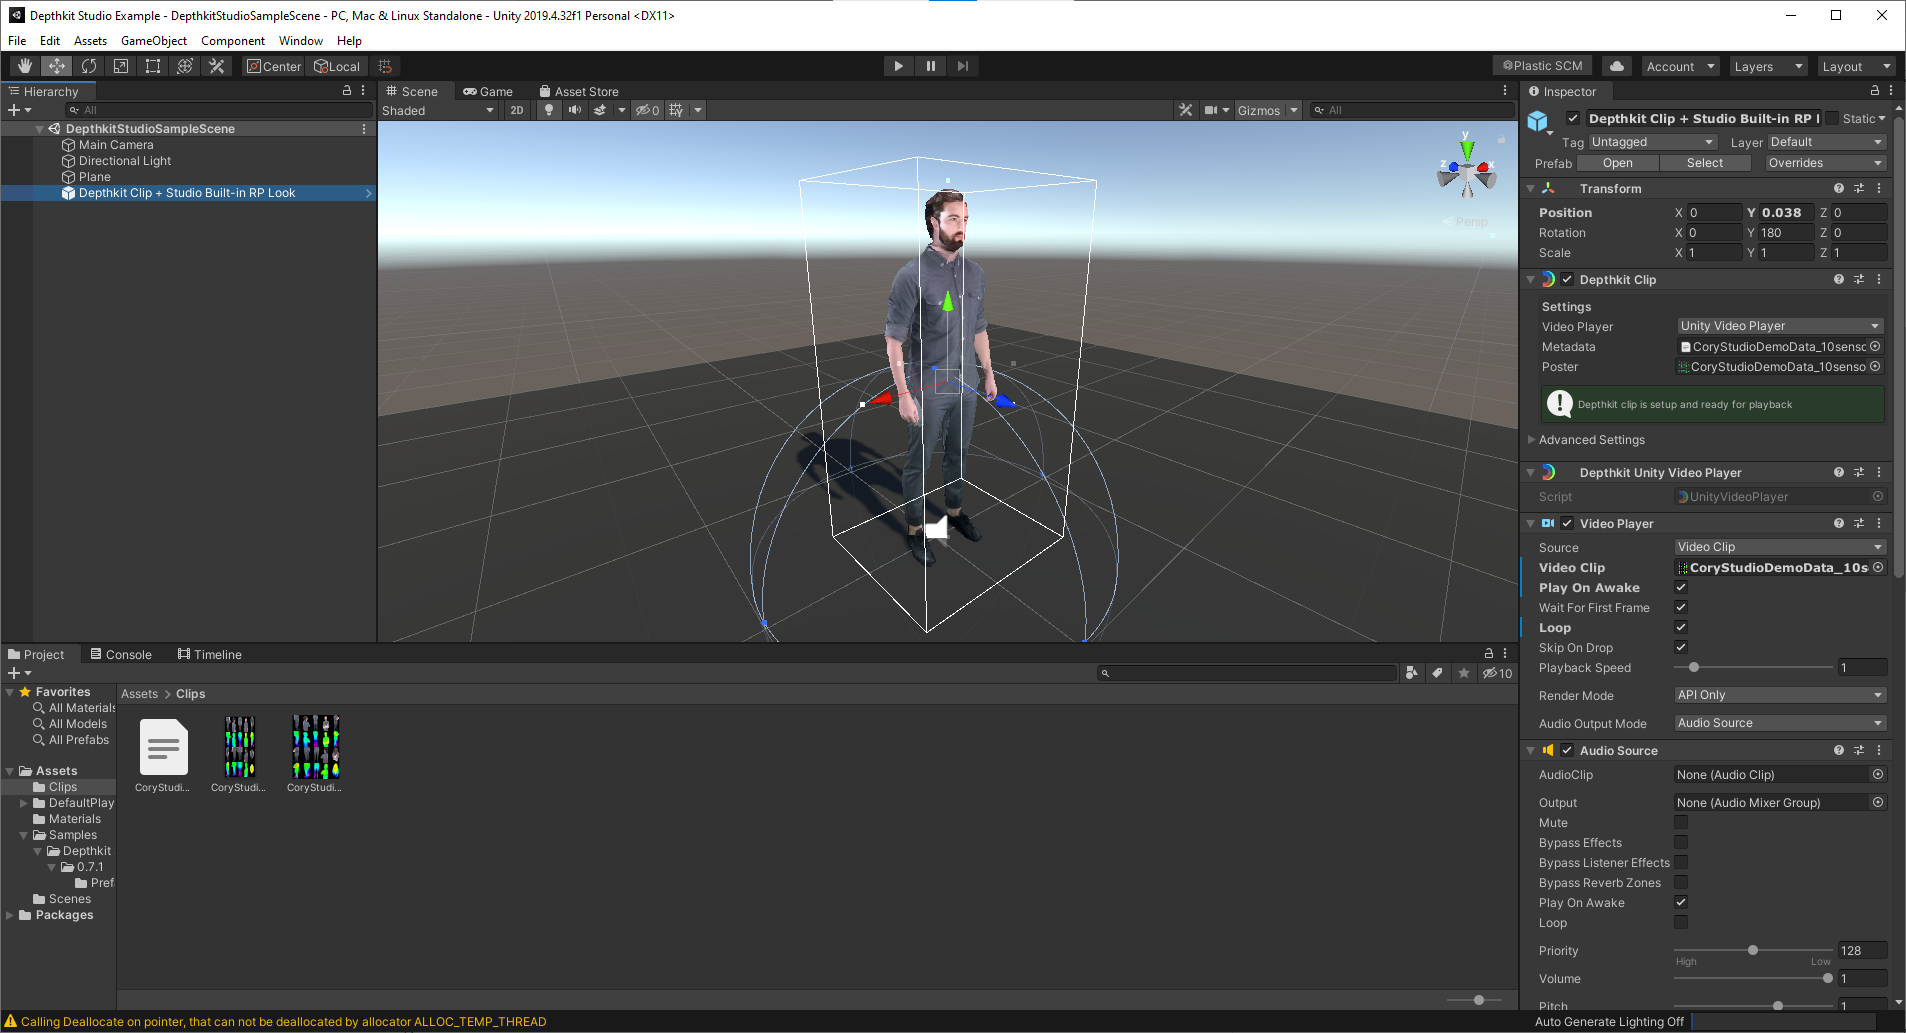
Check out the demo Unity project in the Documents folder to quickly get started using Depthkit assets in Unity!