

Welcome to Depthkit Studio
hardware
Hello, Kent State University team! Your 10-sensor hardware package is tested and ready for volumetric capture with Depthkit Studio.
This quick-start guide is here to walk you through assembly. For any questions, reach out to support@depthkit.tv.
What's in the Box

_
a
1x
Boxx Apexx S3 Computer
6x
Calibration Chart
_
b
10x
Orbbec Femto Bolt Sensors, sync adapters, and power supplies
2x
Orbbec Sync Hub Pro with USB-C power supply and cable
11x
30' CAT-5 Sync Cables
12x
Mini Ball Heads
1x
Mini Clamp
12x
Mini Tripod Lite Stands - 10 for sensors, 1 for calibration chart, 1 spare
_
c
10x
30' USB Extender
1x
15' USB Extender (Spare)
System Performance
This computer has been tested and verified to capture with 10 sensors each set to 1440p color and 640x576 Depth.
Assembly Instructions
Computer
Place the computer on a table or work surface. Use the supplied AC cable to plug it into power, and connect other peripherals like a mouse, keyboard, and monitor.
// Customers outside North America may need a plug adapter for the PC.
Sensors
Remove the sensors from their packaging.
Place the sensors on stands or whichever hardware you are using to mount them in your volume.
If you don't have a truss, large stands stands, or other hardware to mount your sensors to, we have provided small light stands which can be used to quickly get you started, however we recommend that you use full-sized stands or other hardware to be able to properly position the sensors.
Cables — Power
Remove the Bolt's power supply from the packaging.
Plug the DC barrel connector he tSENSOR, then plug the AC power plug into a power source.
// Customers outside North America will need plug adapters for the sensors. The Bolt accepts power from 110v or 220v sources.
Cables — USB
Remove the Bolt USB cables from the Bolt packaging. Also remove the 10m USB extenders.
// 10-sensor packages include a spare USB extender, for a total of 11.
Plug the Bolt's data cable USB Type-C plug into the SENSOR. For a more secured connection, tighten the screws on either side of the connector to lock the cable to the sensor.
Plug the Bolt's data cable USB Type-A plug into the USB extender.
Ensuring that both the PC and the sensor are both fully powered up, plug the other end of the extender into the marked USB ports on the rear of the PC. leaving adequate time after connecting each sensor for it to establish a proper connection (~10 seconds - more information here). Be sure to only use the marked ports, as using the other ports on the computer may cause the sensor to perform poorly.
Because the Femto Bolts are powered using their included power supplies, power adapters are not needed to power the USB extenders.
Sync Hub and Cables
Remove the Sync Hub Pro, USB power supply, USB power cable, and CAT-5 sync cables from the packaging.
The sync cables will be setup in star-configuration, so pick a location for the hub(s) that is easy to access. In general, most users keep the sync hub close to the Depthkit workstation computer, so that the sync cables and USB cables follow the same path.
Connect each Sync Hub Pro to a power source using the provided USB power supply and USB power cable.
Gently connect the sync adapter included with each sensor to the sensor's sync port.
For all but one of the sensors, connect a CAT-5 sync cable to each sensor's adapter cable, and connect the other end of the CAT-5 sync cable to one of the available SECONDARY ports on the Sync Hub Pro.
cables from one sensor's Sync Out to the next sensor's Sync In. Press firmly to ensure the cables are fully seated. The first sensor in the chain will have nothing plugged into its Sync In port, and the last sensor will have nothing plugged into its Sync Out port.
The sync cables, data cables, and power cables can all comprise a messy web without proper cable management. We recommend using cable ties, sheathing, and labels to keep things organized and reduce tripping hazards.
Everything Else
We have provided multiple calibration charts, each labelled with the range of ArUco ID numbers, as well as an arrow indicating which way is "back" when capturing a floor sample. The ArUco ID range of each chart is different, so you can use all of these charts at once without the risk of duplicate markers.
Remove one calibration chart from the packaging and mount it to a stand using the included mini clamp and ball head. This will give you the ability to tilt the chart when calibrating different sensor poitions.
We have provided small light stand, clamp, and ball head, which can be used to quickly get you started with one chart, however we recommend that you use a full-sized rolling stand, and mount multiple charts to it at different heights to speed up calibration.
Make sure your capture volume has plenty of sensor-friendly light.
Calibrating and Capturing in Depthkit
1. Turn on the computer.
2. Connect the computer to the internet.
3. Open Depthkit by clicking the icon in the taskbar or Start Menu.
4. Login using your credentials.
5. Create a new project by specifying a directory. All of the recordings, calibration data, and other assets will be stored in this directory.
Ensure other applications and processes which may impact system performance are not running on the computer while Depthkit is open.
For systems using the Boxx Apexx W4L, S3, or E3 computers, ensure your project is stored on a secondary drive, not the boot (C:/) drive, for best performance.
Follow our documentation to finalize your equipment setup, calibrate, and record.
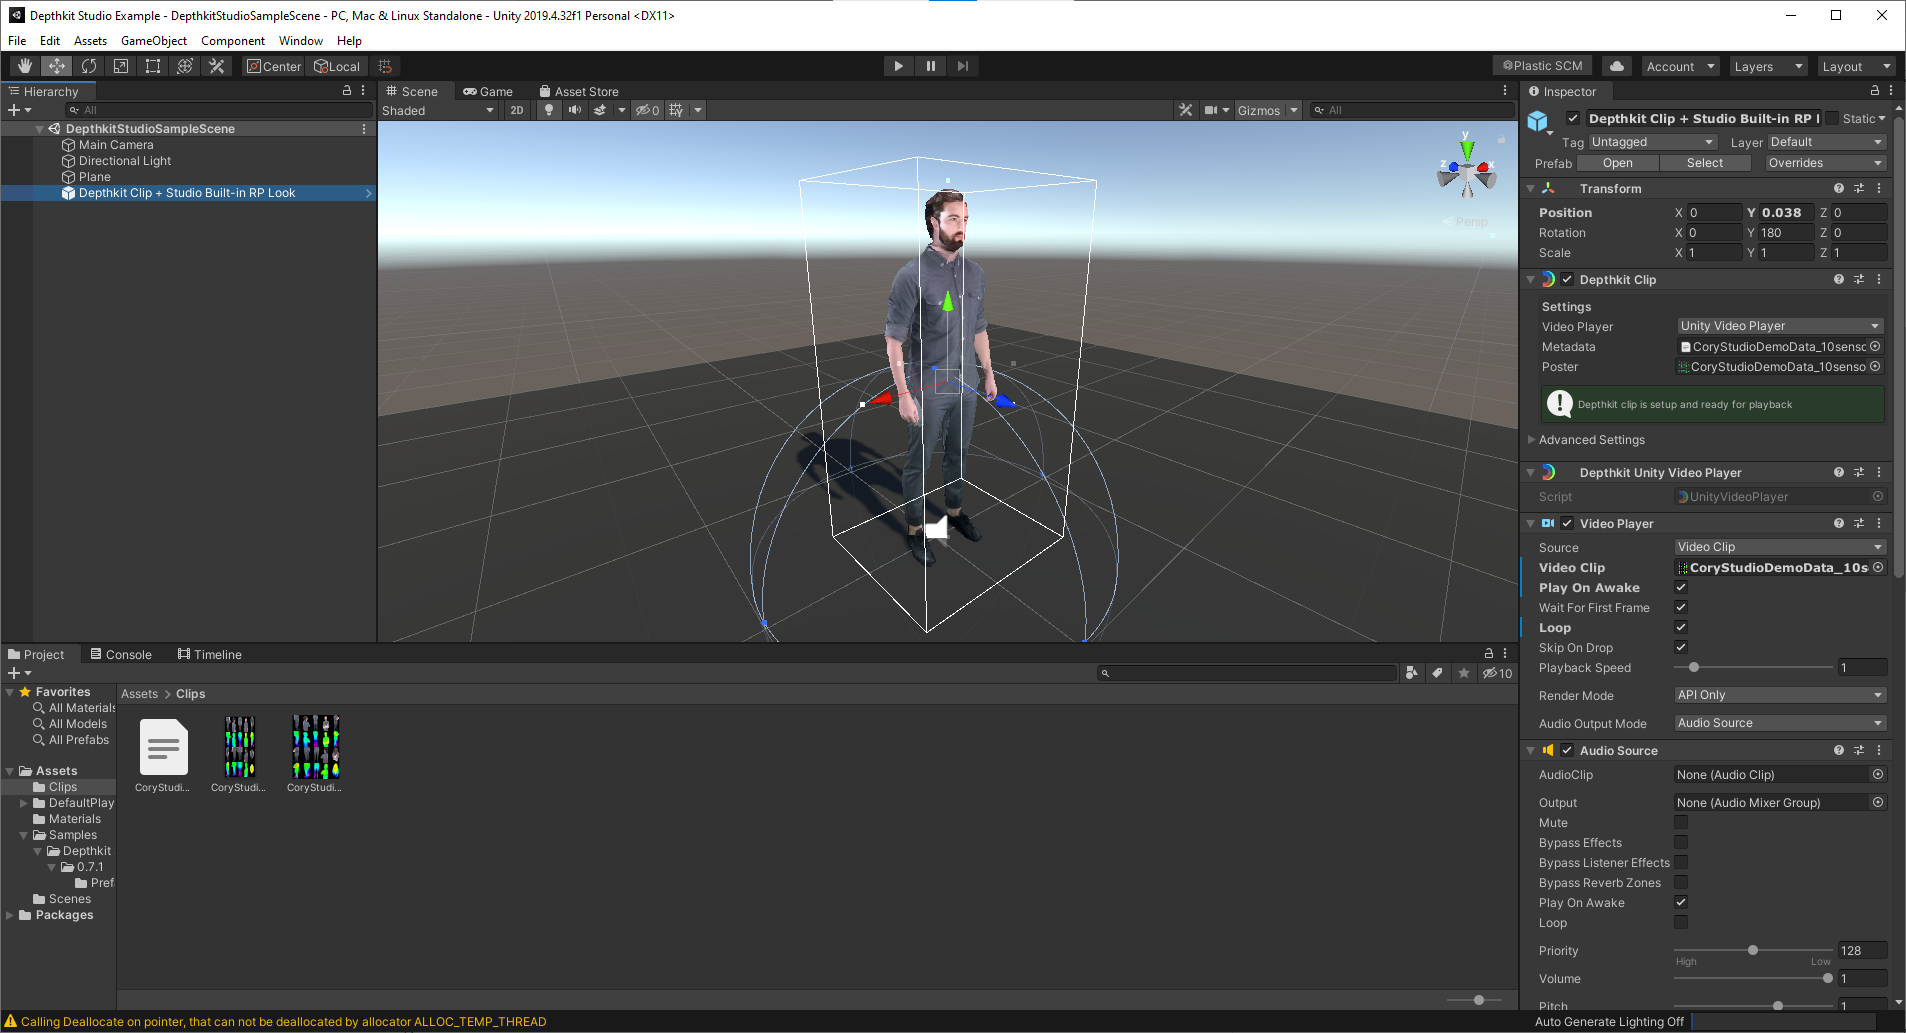
Check out the demo Unity project in the Documents/Unity/Depthkit Studio Example Unity Project folder to quickly get started using Depthkit assets in Unity!